Can I Lay Artificial Grass on Soil?
When making the switch from real grass to high-quality artificial grass, there may be an important question on your mind: “Can I lay artificial grass on soil?”. It’s certainly a question you will need the answer to before you begin work on transforming your field or outside space into the perfect spot for your pupils to play and learn when the weather is nice!
Luckily, we have the answers you need below, as well as some information on what you can do to make sure your artificial grass is correctly laid on top of a soil base. Read on to learn more or contact us if you’d like some expert help taking care of your school’s outdoor areas as soon as possible.
Can You Lay Artificial Grass on Soil?
Technically, you can choose to lay artificial grass directly on soil, or even over the top of natural grass. However, experts will often recommend that you don’t do this. In most cases, the finished result will be an extremely uneven-looking and feeling lawn that could easily end up damaged by feet walking or running across it.
Another point to take into consideration is the fact that installing an artificial lawn straight on top of soil without putting anything in between won’t stop natural grass from trying to grow. If it does, it could grow up through the turf backing. This might cause the turf to start lifting up in patches, cause it to sink in others, or trap moisture underneath the surface. All of this can also lead to damage, as well as an unattractive lawn that your kids can’t (or don’t want to) use.
How to Lay Artificial Grass When You Have Soil
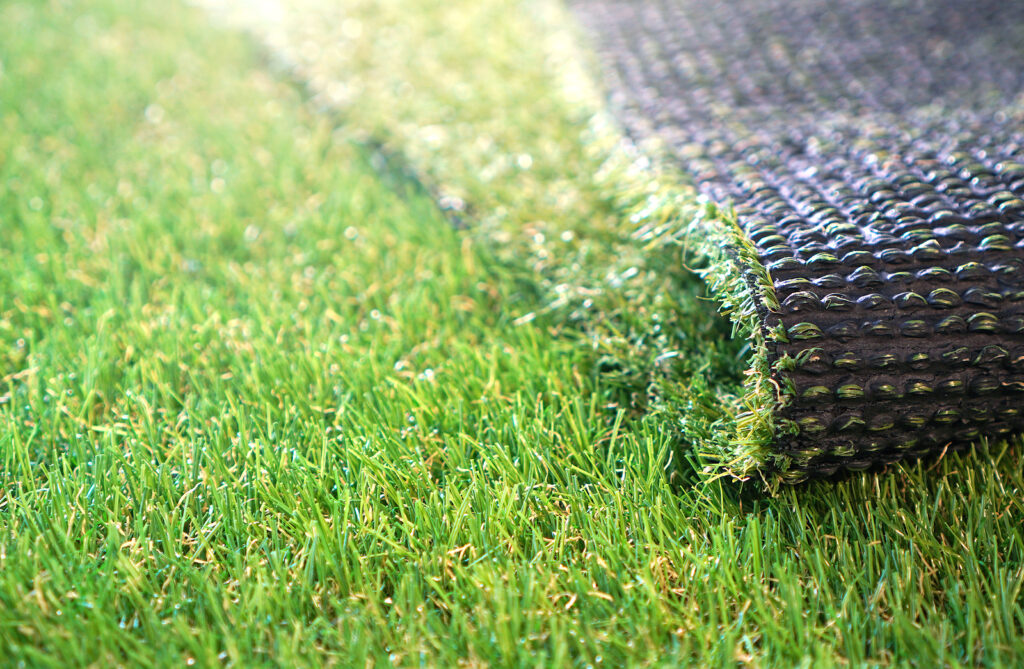
Providing a good base for your artificial grass keeps it stable and allows water to drain away, ensuring it’s kept in its best condition for years to come. Below, we’ve set out some advice and instructions on what you will need to do to install artificial grass on top of soil. Following these steps should help to complete your school’s outdoor project to the highest possible standards:
1. Measure Your Dimensions Carefully
If the school maintenance team is carrying out the work, they should first ensure that they know the exact size of the space they will be refitting with artificial turf. Artificial grass products are normally ordered by square metres, so it’s important to make sure you know how many will be needed for your outside space. Some of the turf will normally be lost in trimming and fitting, so always be sure to order artificial turf in measurements that are just above the actual dimensions. It means you’ll always have enough for your field or play space while minimising the amount wasted.
2. Get All Your Tools and Materials Together
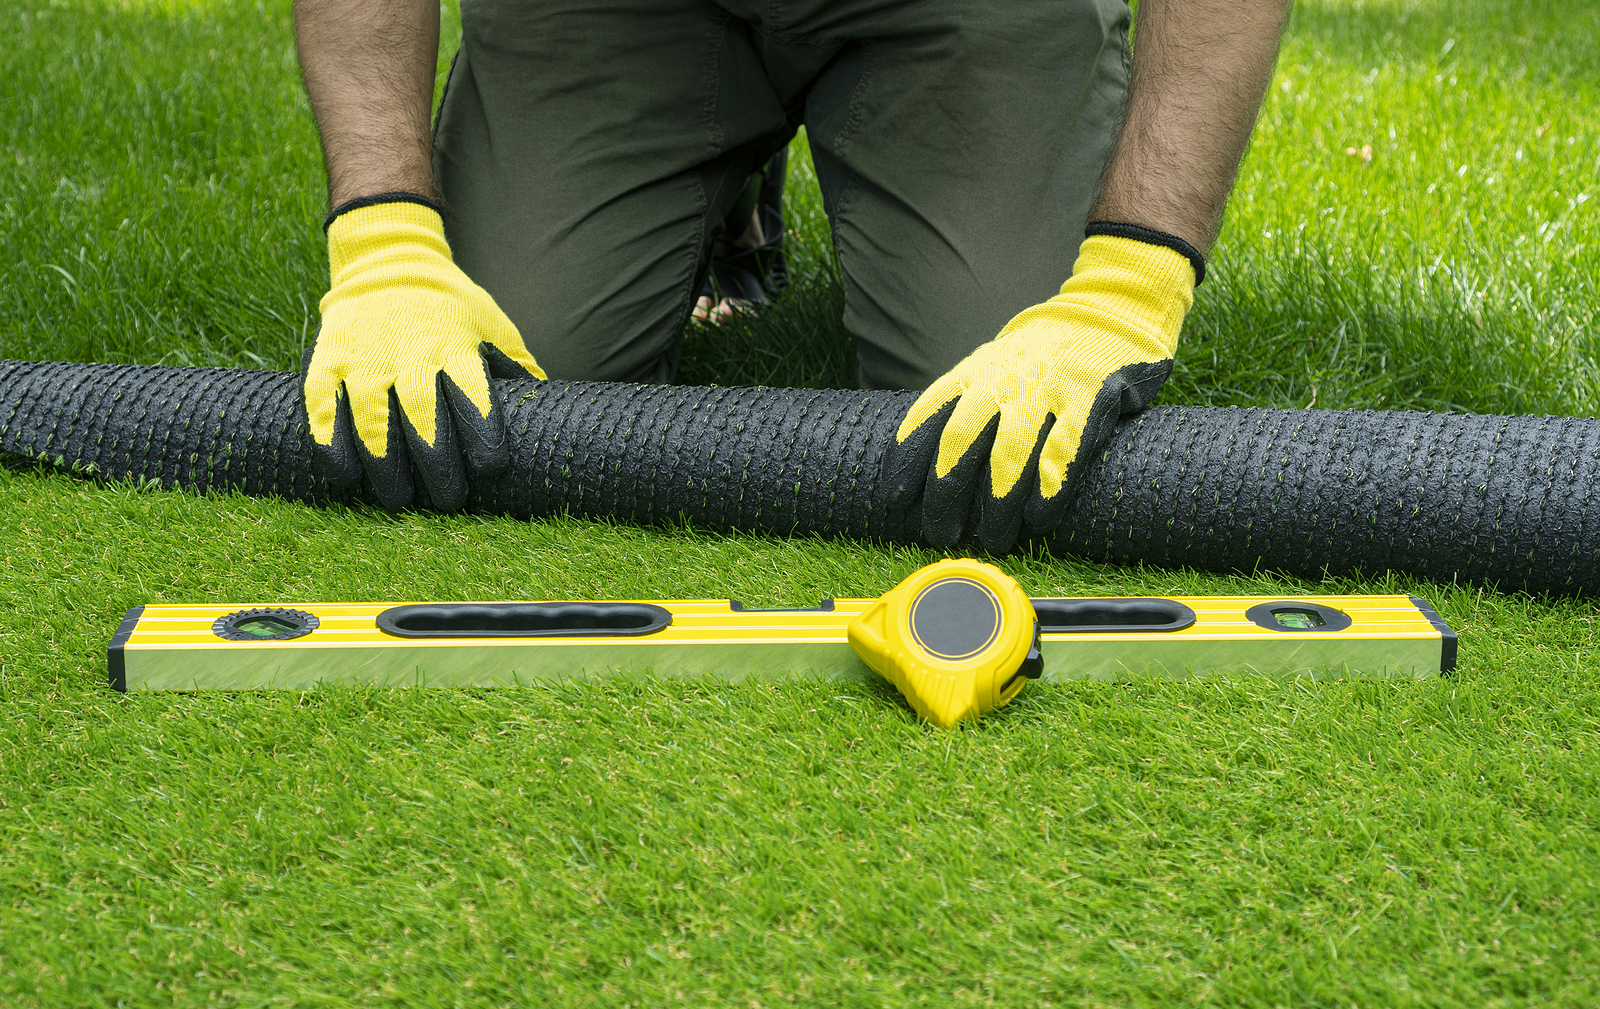
Any team carrying out the work will also need to make sure they have the right tools and materials for the job. When preparing to lay artificial turf, you will need to have:
- A utility knife
- A turf cutter
- A roller, or something else that can compact and bond surfaces
- A wacker (also called a compactor or compacting plate)
- A spade or shovel
- A rake or stiff broom
- A set of fixing pins or turf nails
- A hammer
- A roll of seaming or jointing tape
- A strong artificial grass adhesive
- Foam underlay (optional)
- Weed killer (optional, but recommended)
- Weed membrane (optional)
- Edging of your choice installed (optional)
- Sharp sands and aggregates
- A sand infill (optional, but recommended)
- 10 mm shingle (if a drainage system is necessary)
3. Remove the Existing Turf
As you cannot lay the grass directly on top of the existing grass and expect it to be even, the first proper step of the work will involve removing the turf you already have. This can be done using a shovel or a turf cutter, though turf cutters may make the work easier if you have a larger space to work with. Many professionals will recommend cutting to a depth of between 50 mm and 100 mm in depth (between 2 and 4 inches). This ensures that there is enough room for your base layers while ensuring that the resulting turf won’t look unnaturally tall next to paved areas.
4. Flatten and Prepare the Soil
Once the soil is cut, you will need to compact it. This will involve using the roller, or another object that can flatten it out. After this, we also highly recommend spraying the area with weed killer to stop weeds from trying to sprout up through the turf once it has been laid. Doing this cuts down on how many times a year your maintenance team will need to spray weed killer onto the turf itself, once it has been installed.
5. Fit Your Edging
If you are installing artificial grass edging alongside your fake grass, this will need to happen next. To learn more about the types of artificial grass edging, its benefits, and how to place it for your outdoor play spaces, please don’t hesitate to take a look at our page.
6. Lay Your Aggregate Layer
To make sure water is draining away properly from your artificial lawn, you may need to place a base layer of aggregates. This also helps to form a firm base for pupils and teachers to walk on. The most popular type of base you’ll find for this step is type 1 crushed limestone. Aggregates should be compacted with a wacker, with experts recommending the layer be between 70 mm and 75 mm in thickness for the best results.
7. Place Down Your Sharp Sand Layer
Once the aggregates have been laid (or even if you are moving on directly without placing aggregates), you will need to put down a layer of sharp sand or dust granite. You’ll need to make sure this second layer is firm but porous, as this ensures that rainwater will drain away and your playspace won’t be covered in puddles after bad weather. Using a shovel or a sand spreader, you should aim to place this layer down so it sits at around 20 mm thick. After this, make sure it’s compacted. The result should be level overall, but you might think of keeping the odd lump, bump, or dip if you want to maintain a “natural” feel and achieve a more realistic look.
8. Fit Your Weed Membrane
If you are planning on using a weed membrane to prevent weeds from growing up through the turf backing, it will need to be fitted after this. How this should be done will depend on the surface the artificial grass and the membrane itself will sit on or next to, but the two most popular methods of fitting a weed membrane are nails or adhesives. Membranes should be cut to fit the dimensions you have available, with joints overlapping and secured in place. Around the perimeter of the lawn, the membrane should be fixed using adhesives, tape, or nails.
9. Roll Out Your Underlay
If the ground underneath your turf is particularly hard, you may wish to include a foam underlay as part of the design. While being careful not to disturb the membrane you have already put down, the underlay should be rolled out and cut to the dimensions needed. Each piece should be cut to the shape and size needed (and placed where it needs to be) before you begin glueing them down. Foam underlay may need to be weighed down while you work, as it can roll itself back up when left unattended. As soon as you have worked your way across the entire space, you will need to fit the pieces together with masking tape to make sure they are kept still. Apply the adhesive to the underlay in order to stick it onto the layers you have already put down.
10. Cut Your Grass
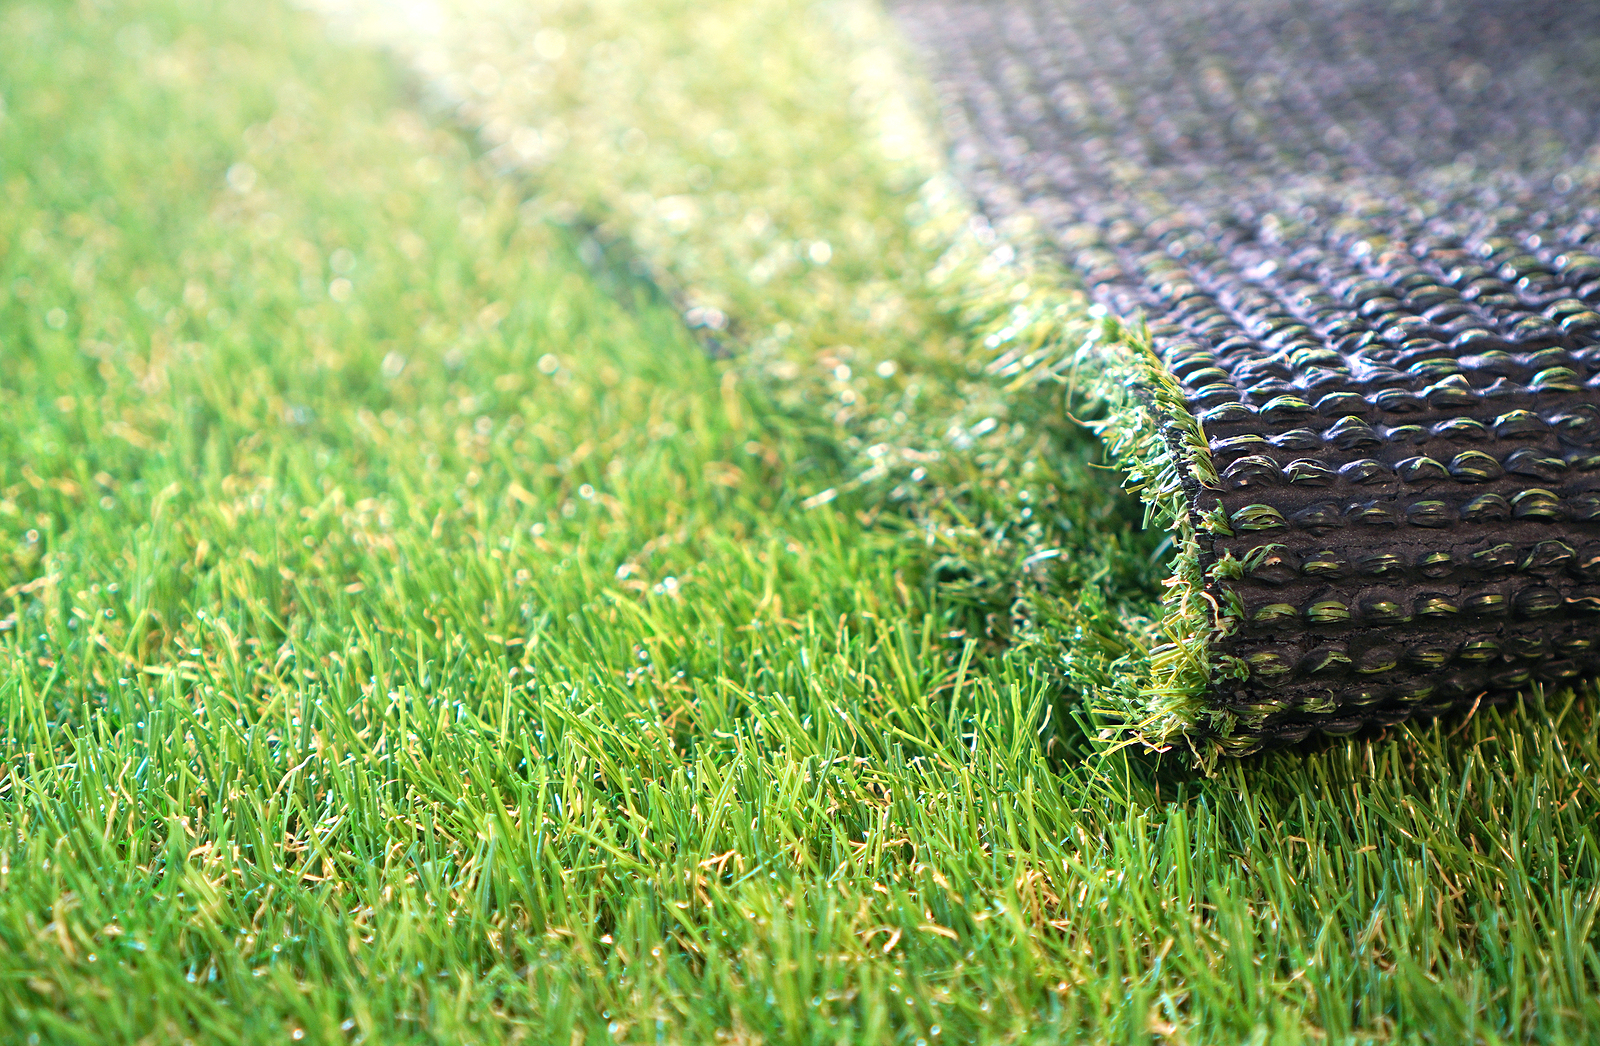
As soon as the other layers are down, you will need to repeat the process for the artificial turf you want to be installed. This first means rolling out the turf and seeing how much of it is needed to cover the surface area you want to be turned into a playspace. Use a utility knife to carefully and accurately cut it to the correct size, using marker pens to set reminders if you’re ever in doubt. If the turf you’ve chosen comes with joints, an invisible join will need to be made. This is done by trimming three stitches off the edge of each piece. Joints should be stuck together using joining tape, and you should always make sure you finish cutting everything before you attempt to glue any of it down. It’s also important to remember that joints shouldn’t be glued directly to the underlay or to the weed membrane, as this will make each piece move independently when the grass is walked on.
11. Secure the Perimeter
After the glue is cured, the grass can be secured to the perimeter. How this is done will depend on the type of perimeter you have. Experts recommend that you:
- Overlap the grass by 50 mm and secure to the side, if you have flower bed borders
- Secure grass that’s flush with pathways, fencing, or edging straight onto it
Depending on the method used, you may think of using glue, nails, screws, or staples for this step.
12. Add a Sand Infill
Another optional feature is the addition of a sand infill. This helps to weigh down the grass and keep the blades in position. It’s also great for helping to keep the surface cool in the summer when kids are playing outside while making the ground softer if someone should accidentally trip and fall. Sand infills should be added at a rate of about 4-5 kg per square metre.
13. Finish Up by Brushing the Grass
Once the turf is all installed and ready to walk on, you can use the rake or the stiff-bristle broom to put a little bit more life in the grass. This means brushing into the pile until the fibres are lifted straight up and leaning back over a little, giving it the same upright look as the real thing.
Having Professionals Put Down Your Artificial Grass
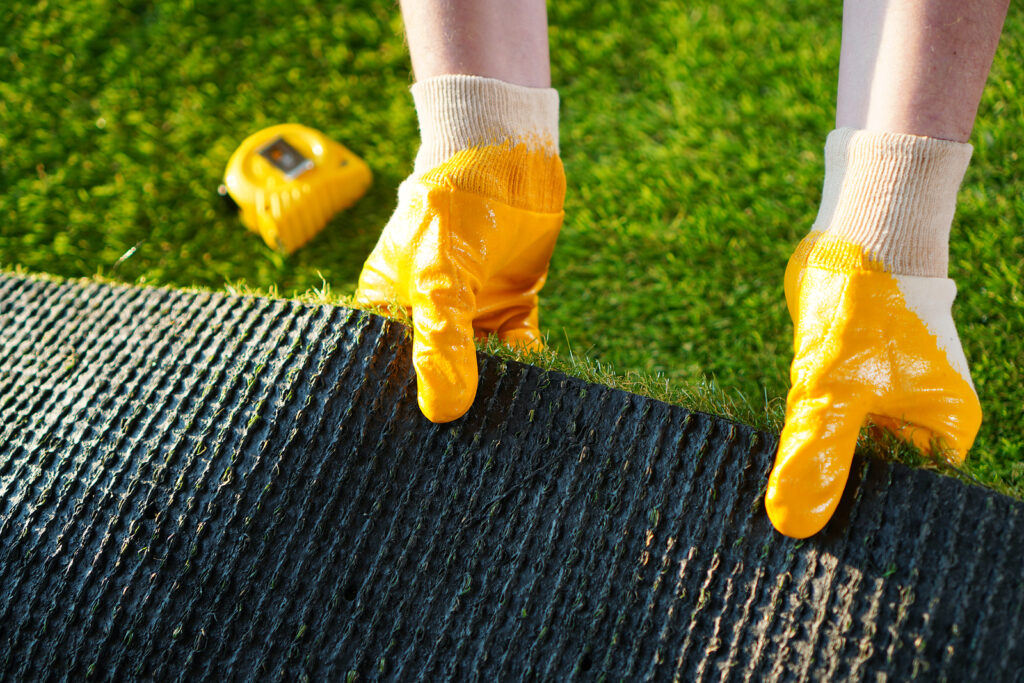
Getting your school maintenance team to lay the artificial grass you need may be good for your budget, but it may not be the right way to ensure the work is done as you need. If your staff don’t have the tools, the time, or the knowledge to ensure the work is done as it should be, it could be days or even weeks before the work is finished. Moreover, the finished result may not be as high-quality as you had previously imagined for your students’ outdoor play and learning spaces.
It’s easy to avoid this, however. By getting in touch with a specialist installer of artificial grass, you’ll be getting in touch with people who can supply and fit the surface cover you need, exactly as you need it. This means all of your outside spaces will look and work as you have been imagining for your students, and your maintenance team’s time will be freed up to keep on carrying out the work that they need to do.
Contacting professionals could even mean that the work will end up more cost-effective, as the work will only have to be done once.
Contact Us to Carry Out an Outdoor Transformation
If you need a fast, professional team to carry out artificial grass installation work for a school or nursery play space, contact Designs & Lines today. Our experts will be ready and waiting to talk about our top-quality artificial grass products, which we will then be happy to supply and deliver anywhere in the UK. We’ll work with you to arrange a schedule that best suits your needs, and everything we provide will come at a competitive price to keep within your budget.
We even work weekends to make sure our customers get the neat, clean, and evergreen artificial lawn or field they want, when they want it. So, you can expect exactly the same as soon as you get in touch! You’ll get the ideal outdoor space for your kids to run around and burn off energy, save the money you need to help fund all your school’s projects, and ‒ most importantly of all ‒ you can have it in time for the gates to open and the kids to come in on Monday morning.


