How to Anchor a Swing Set on Artificial Grass: A Step by Step Guide


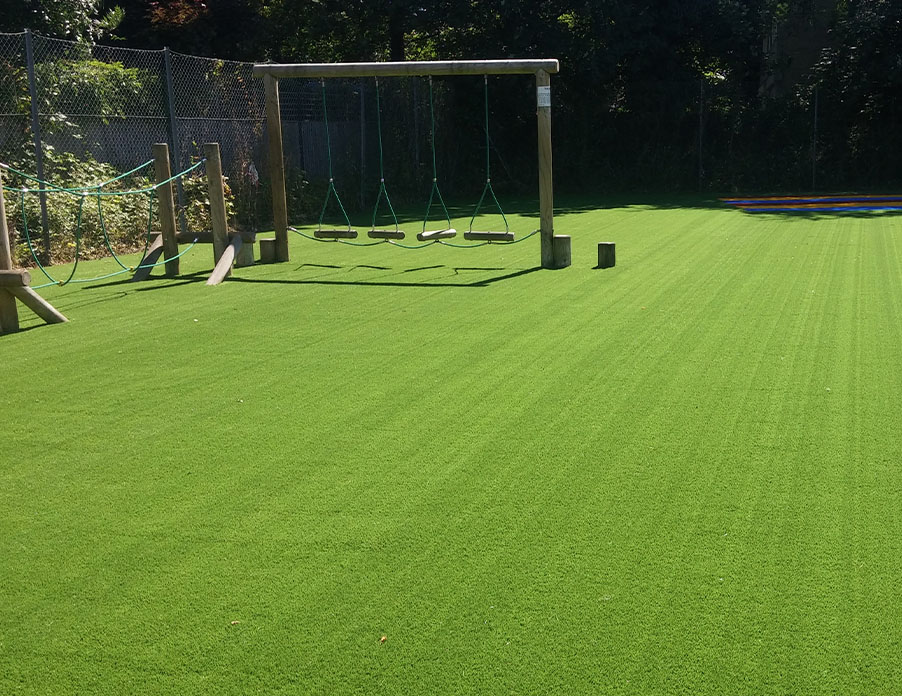
When setting up a swing set to treat your children on their break and lunch times, or even to relax and have fun on at their after school club, it’s important to ensure every safety measure is taken into account. You can easily add in that little bit of extra protection by installing a swing set on artificial grass, as this provides a soft landing in the event of trips, slips, and tumbles.
But how exactly do you go about anchoring a swing set on artificial grass? After all, it isn’t an everyday task, and it might be your first attempt at setting something up of this size for the children in your school or the kids who attend your after clubs at the local centre or children’s organisation.
Our step-by-step guide can offer you everything you need to know about creating the perfect playspace for your kids once your artificial lawns are in place. Read on to learn more about setting up your swings, or get in touch with us today if you’d like to start the process by installing your very own synthetic turf coverings.
Step 1: Make Sure Your Artificial Grass is Safely Installed
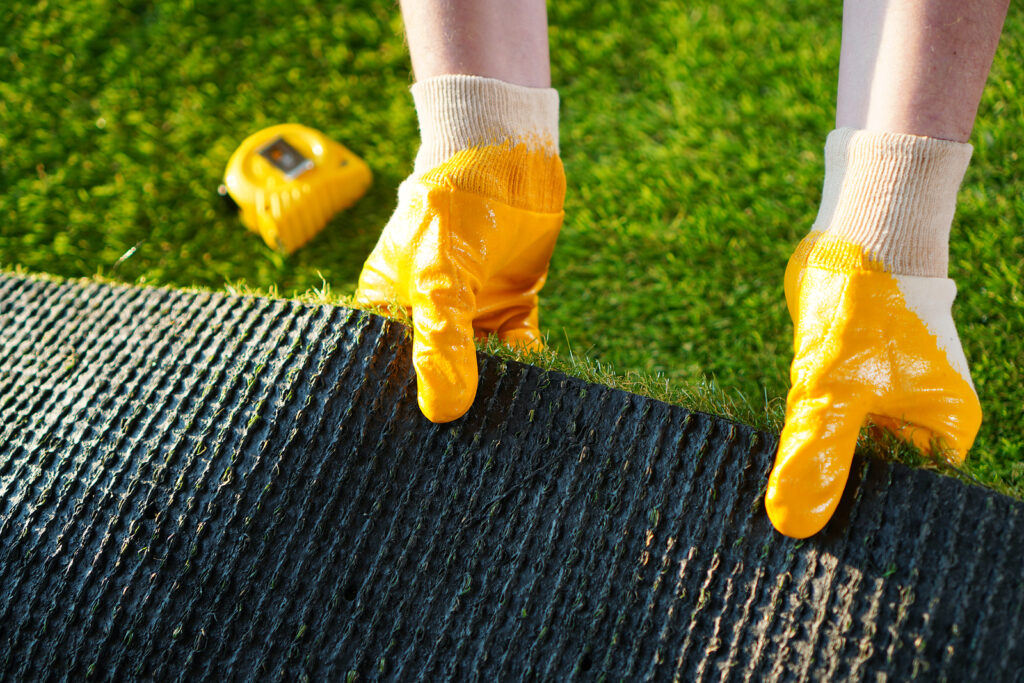
The thing you should always check first is that your artificial grass has been properly installed. If you leave out this detail, you may find that your swing set isn’t as secure in place as you’d imagined it would be, which could cause no small amount of trouble in the future (especially after the kids have used it!). To avoid this, you’ll need to make sure the work involved in the turf’s preparation has been done well.
When you choose to purchase your artificial turf through our service, this will never be a worry for you. Our dedicated team of professional installers will cut and install your selected layers just as you have specified, and they’ll ensure each is laid just as it should be to keep it secure. After this, you’ll be able to set out your swing set and any other play equipment you have in mind as soon as possible.
Step 2: Carefully Make Cuts in the Backing
Before you start moving the set itself into place, you’ll need to check the position and identify where each of its anchors should go. These should be positioned right next to every leg, and you may wish to double check with the set’s instructions if you’re unsure about the position of any particular parts.
You’ll need to be absolutely sure of the positioning of your set’s anchors, and they should be as close as possible to the legs of the swing set in order to avoid tripping people up.
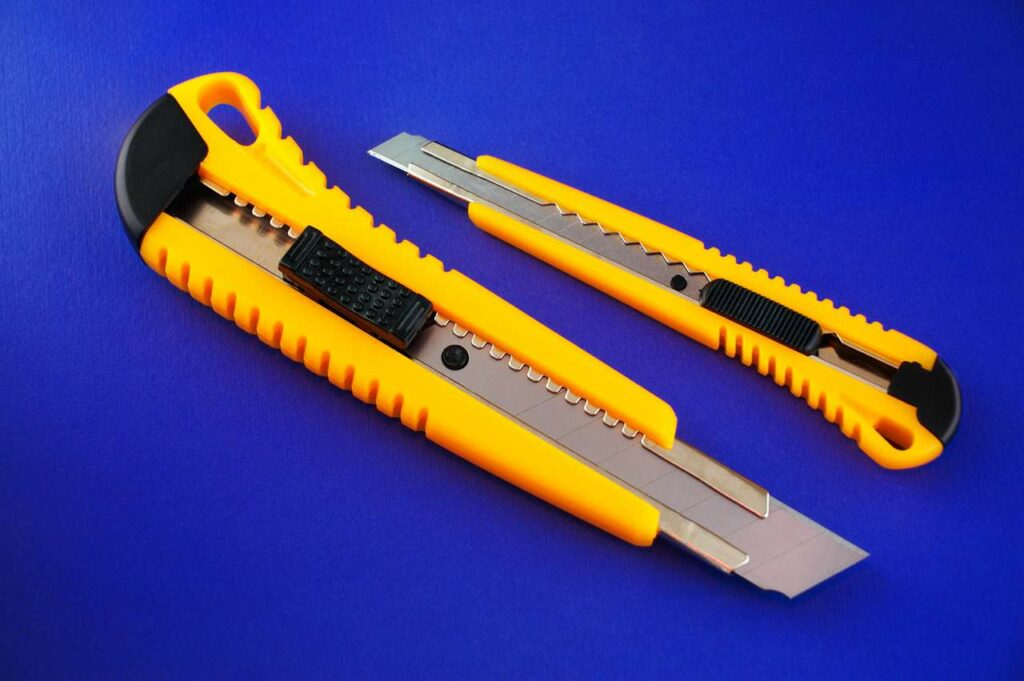
You should also never jam stakes or nails directly into your artificial grass as, unlike real grass, it will damage the backing and the sub-base. To avoid this, you should instead make two careful cuts with a fresh, sharp blade in the exact positioning the stakes will be placed. A standard utility blade or box cutter should suffice, as long as the blade has recently been changed.
Keep this work slow and keep the grass fibres apart so they’re not damaged during the process and can hide any holes in the layer later on. Once the first cut has been made, make the other perpendicular to the first, so that it forms a small “X”, big enough for the stake, anchor, or rebar to fit.
Step 3: Install the Anchors
It’s highly recommended that you use ground anchors instead of concrete anchors to complete this part of the task. This is mostly because installing ground anchors is considerably cheaper than installing concrete, the process is much simpler overall, and there is a reduced chance of moisture being absorbed from wooden swing sets, causing them to rot faster.
Concrete anchors also imply an irreversible installation, so there is no room for the installer to make a mistake. They also mean that you won’t be able to move your swing set once it’s been installed.
The most basic type of ground anchor can be hammered into place, but you may also find some twist-in anchors. Both are a lot easier to work with than concrete anchors, and come in a variety of lengths and strengths if you want to be sure they are secure in the ground.
Insert your anchor into the sub-base below your synthetic grass through the holes you cut previously. Stakes will need to be hammered into place, while twist-in anchors can be screwed in with a power drill or a tool such as a wrench. Some may also be fastened using metal straps, a screw through anchor and swing holes, or anchors which use a string and screw attachment.
You’ll know you’ve gone far enough when the eyelet of the anchor reaches the backing. You should also be sure that this is as close as possible to the legs of the swing set.
Finish this step off by brushing the grass back into place, restoring the grass to its normal look and covering up the hole you’ve made.
Step 4: Secure the Slide Set into the Anchors
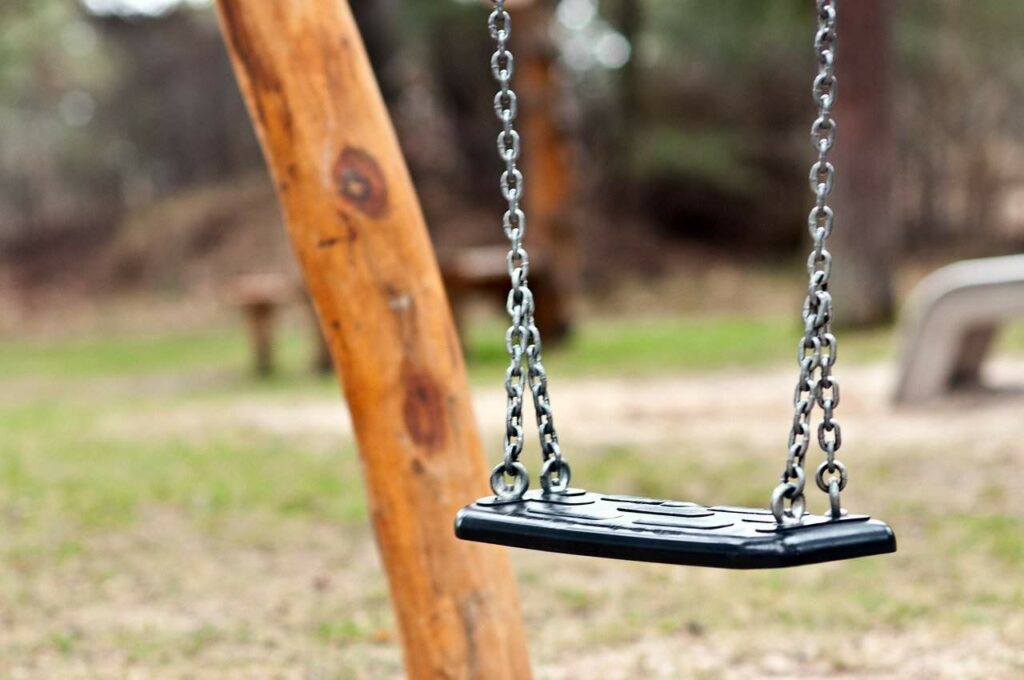
To attach and secure your slide set to the anchors, pre-drill a pilot hole in the leg of the swing set. This should be lined up with the screw hole in the anchor, and you should always check that you’re using a drill bit of an appropriate size for the bolts you’re going to use.
After this, press the legs of the swing set against the anchor hole and thread the bolt through, into the pilot hole in the leg. This should attach the two.
Perform a loose install on every leg of the swing set, then go back and tighten each of them in turn. This ensures your installation is kept strong and stable across each of its corners.
Step 5: Check Everything Again ‒ Just to be Safe

Before you open up your play area, you’ll need to check one last time that everything is safe and fit for use. Push the set in every direction to test out its stability, and if it wobbles while you do, simply check which leg needs tightening. If it’s still loose after all the legs have been tightened, you may wish to install more anchors.
The final part of this process will be to make sure nothing about the set or its anchors could become a trip hazard in the future. If that’s done and there are no further issues, then you have a completely safe and secure swing set ready and waiting to be enjoyed by your kids!
For Your Very Own Evergreen Lawn Space
If you’ve been thinking of creating a permanently green outdoor space that your kids will be able to enjoy with all kinds of play equipment, all year round, then Designs & Lines may just have the surface layers to suit all your needs. Our artificial grass is ideal for even the smallest installation, and its hard-wearing, durable design means it’s perfect for softer landings while withstanding even the rowdiest of games at break or lunch! As the product is dirt-free, you can also guarantee clean shoes coming back into your classroom.
We’ll be happy to supply everything you need as soon as you know what you’d like. So, if you’re ready to transform your outdoor space and get it ready for swings, slides, and any other playground equipment you have in mind for your kids to enjoy, give us a call or send us a message here on this website. We’ll take care of everything once we have your order in place so you won’t have to worry about the hassle, and we can even work weekends to make sure your outside area is sufficiently green by Monday morning.

